Installation
Mounting brackets to traditional Timber Fascia
Attach the bracket to the high end of the fascia, then do the same at the low end. Establish a common reference line using chalked string between both brackets and use that common reference to fix the remaining brackets at a spacing of 1 metre or less; we recommend 900 centres for best results, depending on the rainfall in your area. Use 10 x 22 Wafer Head self-tapping screws to mount the brackets.
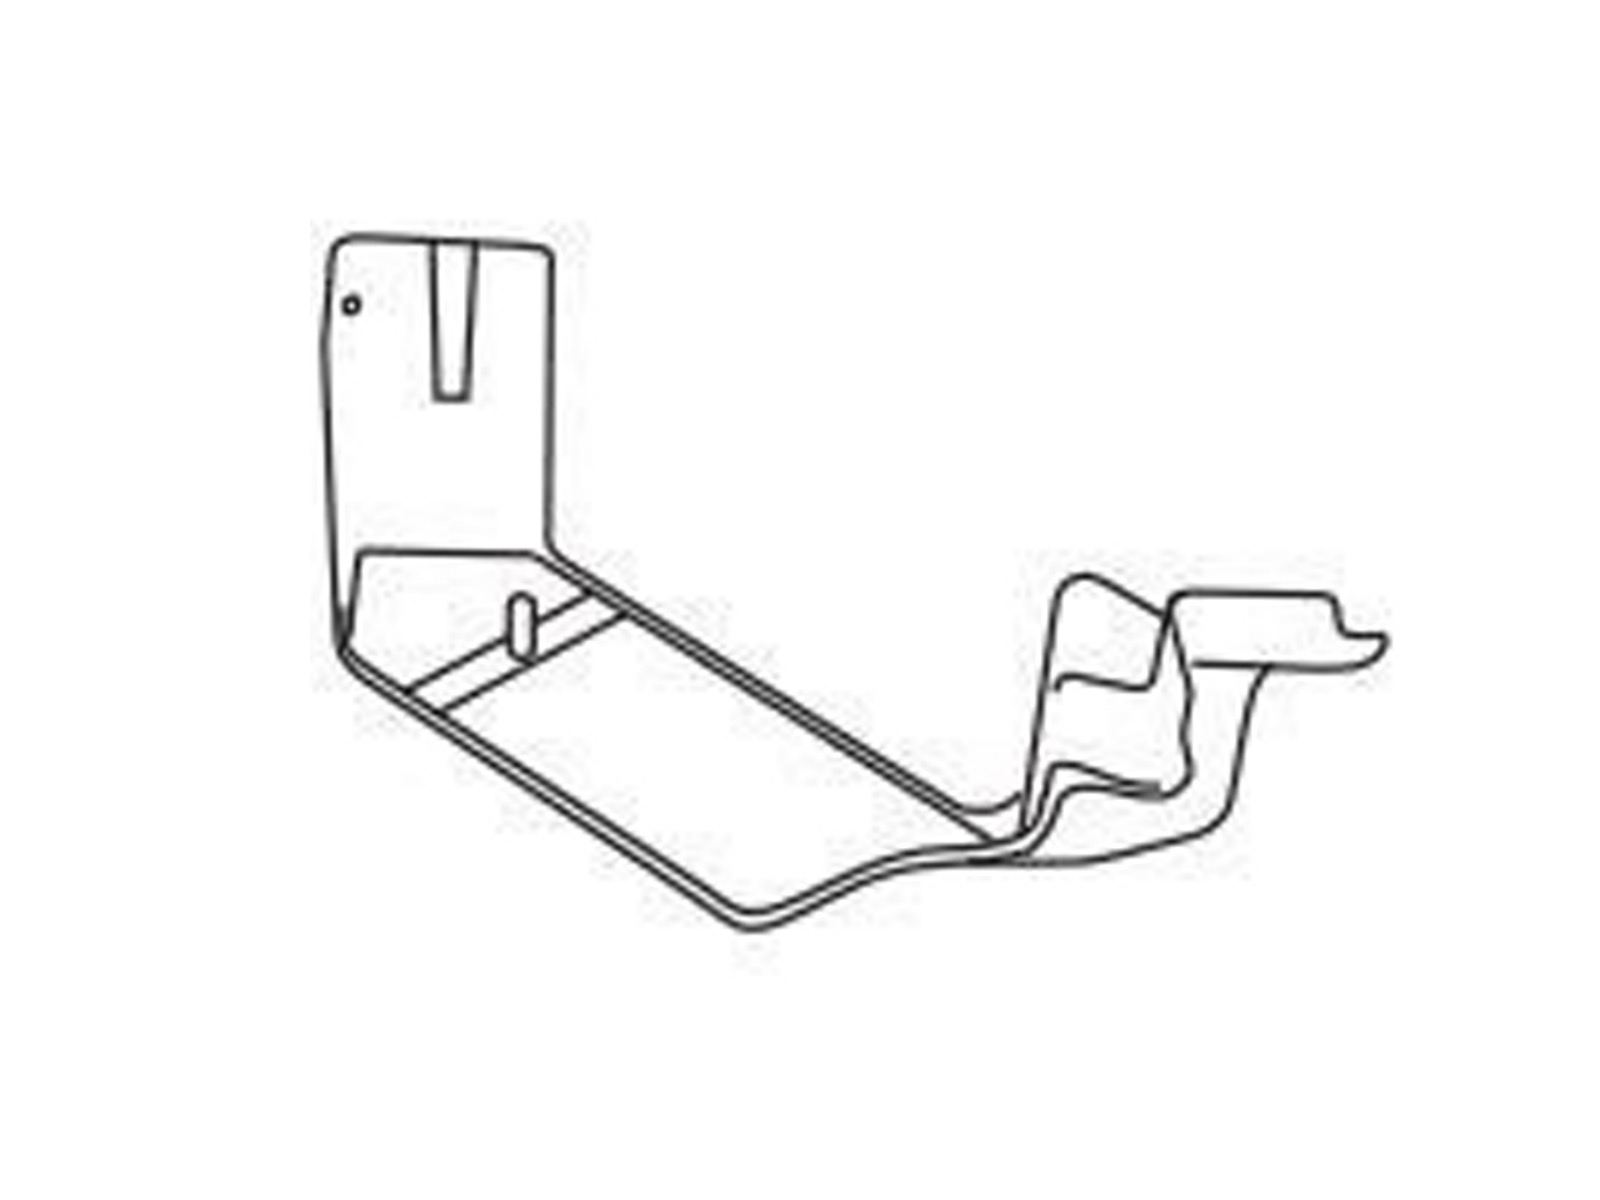
Mounting gutter to Internal Brackets
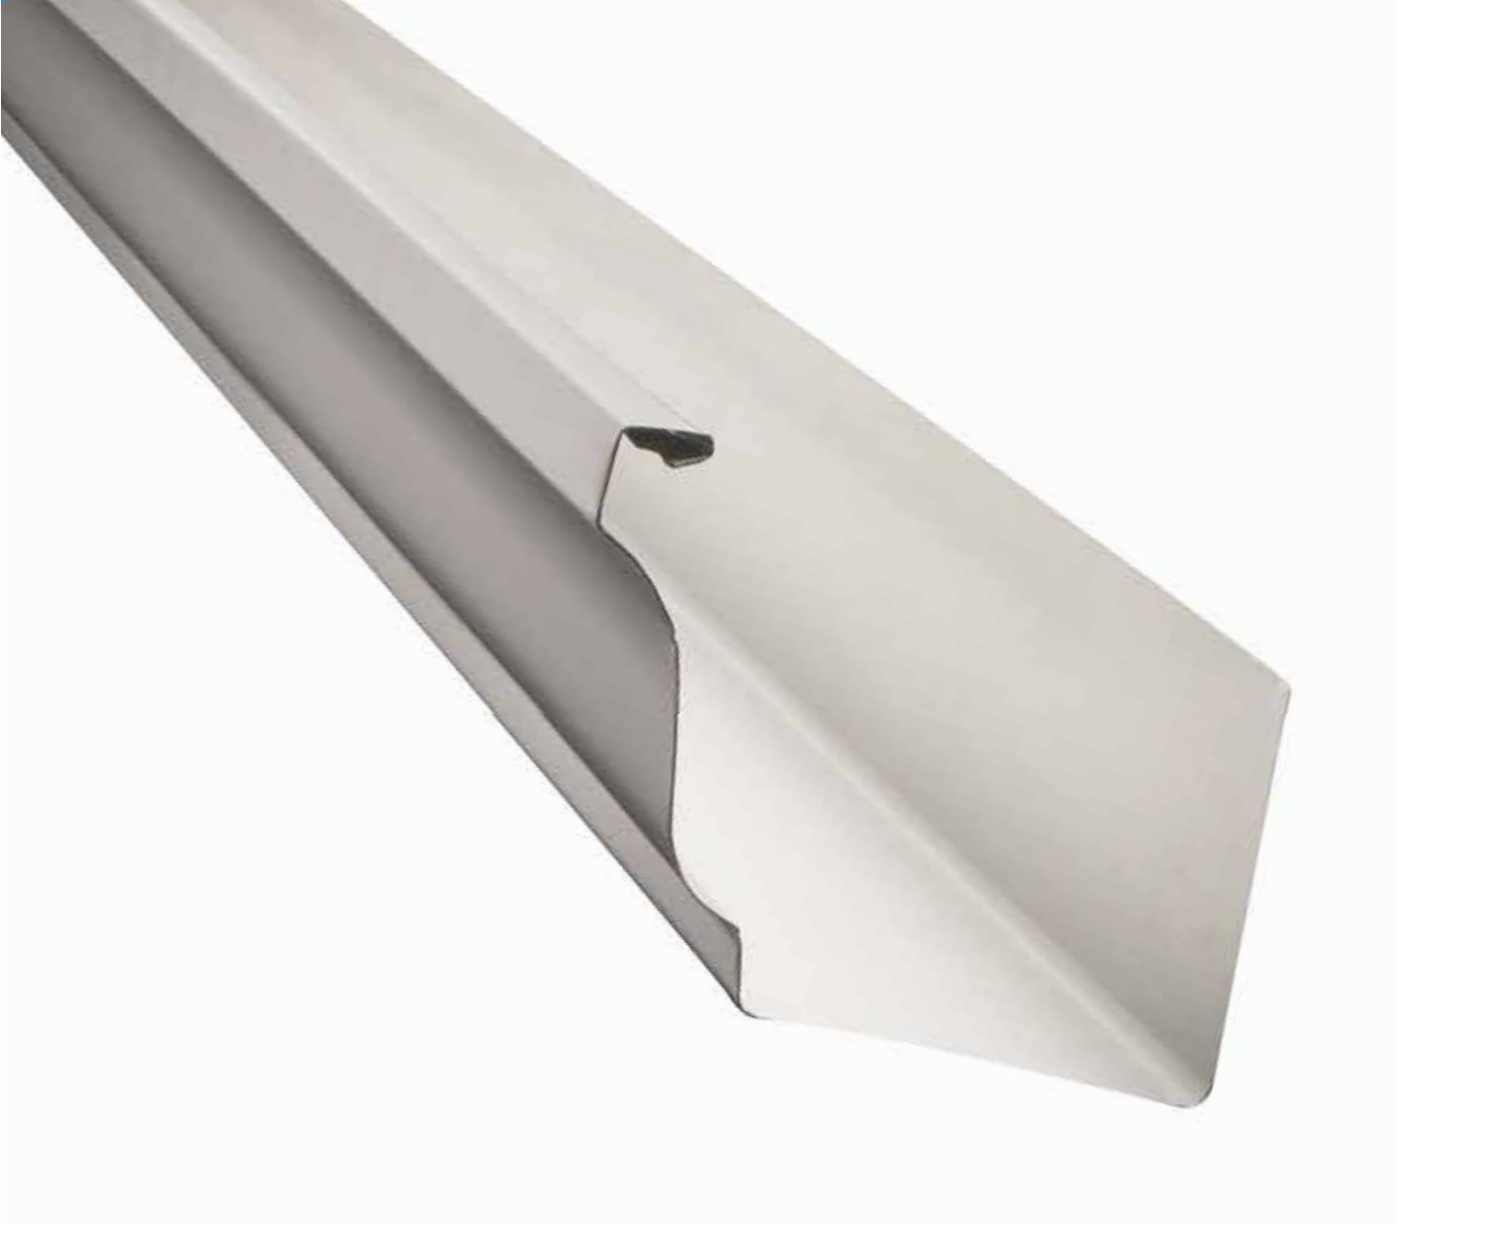
Hook the front of the gutter on the end of the long arm of the bracket and slide the back of the gutter under the long arm until it fits snugly against the back of the bracket. Lift the bottom of the gutter onto the platform provided by the bracket and rotate the gutter until it sits upright. Once the gutter is in the correct position, fold down both vertical tabs on the gutter bracket into the back of the gutter to complete the installation.
Mounting gutter to External Brackets
Lower the gutter onto the platform created by the brackets while positioning for corners and stop ends. Once positioned, secure the gutter by folding the front and back tabs down into the channel.
Mounting gutter to Metal Fascia
Using the simple and effective spring clip and overstrap system it is possible to install a gutter onto metal fascia without the use of fasteners. First, snap the spring clips onto the metal fascia at 700mm intervals, leaving 200mm from each end. The spring clip has vertical teeth to which the gutter can be mounted and adjusted to determine its fall towards the nozzle or downpipe end.
Prepare your gutter by
– use a builder’s pencil to mark 400mm in from the low end of the fascia, then 410mm onto the gutter.
To determine gutter length, measure the fascia and add 10mm to both ends. Fascia length + 10 + 10 = Gutter length. Cut your gutter to length if needed. Pro Tip: When ordering gutter it is a good idea to specify 100mm more material than your initial measurements as they are relatively easy to cut to size on site with Wiss Snips.
– peel off the protective plastic
– install the nozzle by
Once the spring clips are clamped in place, and your gutter is prepared. push the back of the gutter underneath the spring clips
carefully use your fingers to position and fold the overstrap over the spring clip to connect the fascia bead.
The anterior surface of the shoot is supported by a Steeline overband that connects to the front ridge of the shoot and the upper ridge of the fascia.
Support Recommendations
Gutter brackets should be placed between end faces at intervals of up to 1000 mm. When using a metal screen, the brackets should be placed within 150 mm on each side of the rafter bracket
****Extra****
Internal Brackets & Overstraps: – PROs; cheaper (plain-unpainted, lighter), aesthetic (cleaner look). CONs; lower strength (smaller spacing, higher quantities and labour required), can be messy (more difficult to clear debris from gutter).
External Brackets – PROs; easier to clear debris, stronger. CONs; more expensive, aesthetic (more cluttered, industrial look – which can be a PRO).
Safety
Metal roofing objects are sharp and work must be done at heights; please keep this in mind when attempting any kind of DIY project. Gloves and eye protection are a must. Protect yourself from the sun and sharp objects. Use planks and trestle platforms over ladders where possible and check your local building codes for legal requirements. If in doubt, enlist the services of a professional roofer.
Safety Disclaimer
Roofit Online does not offer indemnity for advice given in any format. Installation guides and purchasing advice presented or given by Roofit Online are intended as general advice only and are not intended to replace the services of a roofing professional. Roofit Online takes no responsibility for events which are deleterious to the end user as a result of using any of the products advertised or injuries that occur while following the advice on this website and other channels.
****
Fixing to timber fascia
Fix a bracket at the high end of fall first, then fix a bracket at the low end of the fall. Stringline a common datum on both brackets and install the remaining brackets at the required spacings (not exceeding 1000mm), with common datum on the stringline.
The brackets are best attached to the fascia with the use of 10 x 25 wafer head self drilling screws.
Attaching gutter to internal brackets
Hook the front of the gutter onto the end of the long arm of the brackets and slide the back of gutter under the long arm until it is hard up to the back of the bracket. Push the gutter into the upright position, lifting the bottom of the gutter onto the platform provided by the bracket. When the gutter is in the correct position, turn down both tabs of the gutter brackets onto the back of the gutter, completing the attachment.
Attaching the gutter with external brackets
Lift the gutter into the external bracket. Position correctly for corners or stop ends. Fold front and back tabs down into gutter to hold firmly in position.
Spring Clip System
Fixing to metal fascia is made incredibly simple by using the Steeline spring clip. The clip snaps over the metal fascia and has six teeth at alternative heights. The fall of gutter to downpipe outlet is determined by the height of where the gutter is attached to these teeth. The face of gutter is then supported by the Steeline overstraps, which connect to the front bead of gutter and top bead of fascia.
Support Recommendations
Gutter brackets are to be placed at stop ends and between stop ends at intervals of no more than 1000mm. Where metal fascia is used, brackets must be placed within 150mm either side of the rafter brackets.

Stop Ends
Pre-formed stop ends provide a neat finish to straight runs of gutter and require less labour and skill than site formed ends. However both methods of end stopping require the use of rivets and a roofing type silicone sealant.
External Corners
Cut the gutter ends at 45° as shown. Fix external and internal corner over mitred cuts, use rivets or screws and silicone.

Internal Corners
Cut gutter ends at 45° as shown. Assemble in a similar manner to external corners.

Gutter Joining
Reduce the top rib for 25mm to allow for a slip joint. Slide the reduced end into the other end, applying a suitable sealant, then blind rivet together.

Additional information available at:
